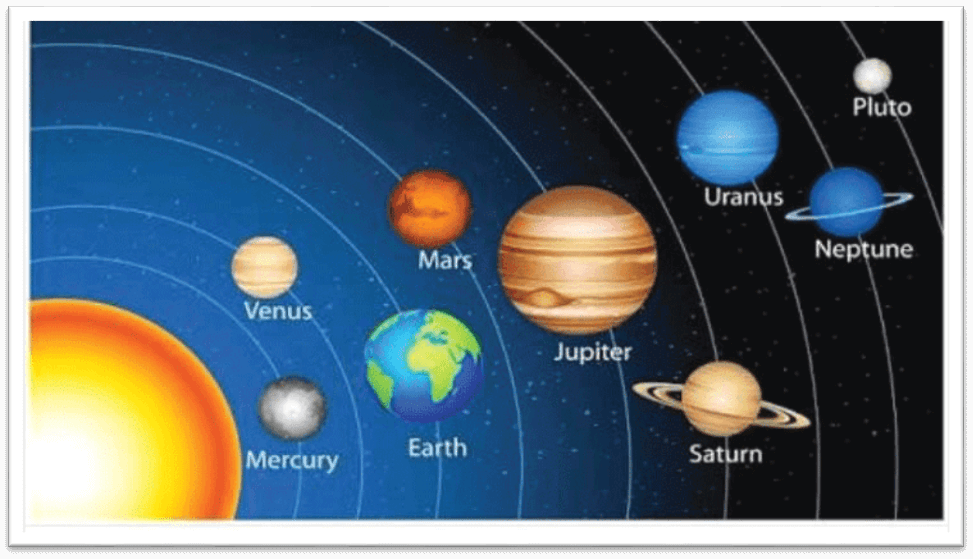
Solar System Visualization Project with PythonIt would be very interesting to observe a solar system from space. In fact, why not make a visual depiction of the solar system using Python? The solar system will be graphically represented in this project using Python. What is a Solar System?Earth is one of the eight planets in our solar system, together with the Sun. Below is a list of the planets in the solar system in a particular order:
Details of Python ProjectIn this Python project, a solar system will be visualized. We'll keep an eye on how the planets orbit the Sun. We will also show multiple planets, give them speeds and routes, and utilize various colours to give our project a natural appearance. We will use the Turtle and Arithmetic Module to create solar system objects and display their motion. Prerequisites of Project
Steps for Developing the codeTo visualize the Solar System, follow the provided steps.
Step 1. Modules Installation We'll combine the Math Module with the Turtle Module for this project. Use these commands to install the modules: Step 2. Modules Importation Source Code Snippet Explanation of the above Code: The Turtle Module allows us to design the Sun and the planets. The turtle module will be used to create the orbits as well. The Math Module gives us the ability to do mathematical operations. To build our solar system, we shall do several procedures. Step 3. GUI Console Creation Source Code Snippet Explanation of the above Code:
Step 4. Creating the Sun: Source Code Snippet Explanation of the above Code:
Step 5. Planets Creation Source Code Snippet Explanation of the above Code:
Step 6. Add the Planets and Change the Angles. Source Code Snippet Explanation of the above Code:
Consolidated Code Solar System Visualization using PythonThe output of Python Solar System Project Here is what the output looks like -  SummaryThe Solar System Project's visualization has been a success. The Turtle Unit and Math Module have both been introduced to us. Using the same method, you may alter the task, add other planets, or create a new Solar System. |

We provides tutorials and interview questions of all technology like java tutorial, android, java frameworks
G-13, 2nd Floor, Sec-3, Noida, UP, 201301, India


