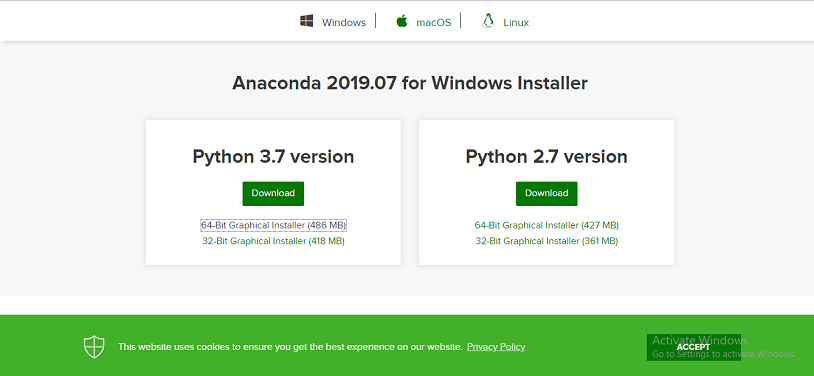
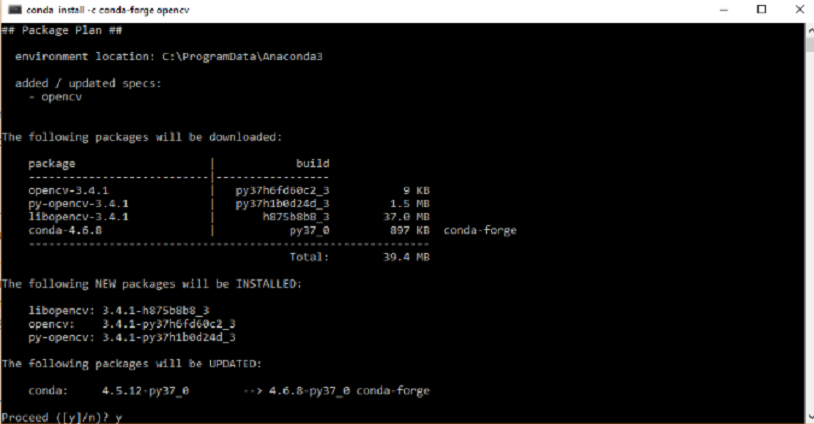
Installation of the OpenCVInstall OpenCV using AnacondaThe first step is to download the latest Anaconda graphic installer for Windows from it official site. Choose your bit graphical installer. You are suggested to install 3.7 working with Python 3.  Choose the graphical bit installer  After installing it, open the Anaconda prompt and type the following command.  Press the Enter button and it will download all the related OpenCV configuration.  Install OpenCV in the Windows via pipOpenCV is a Python library so it is necessary to install Python in the system and install OpenCV using pip command: We can install it without extra modules by the following command:  Open the command prompt and type the following code to check if the OpenCV is installed or not.  Installation OpenCV in MacOSIn this section, we will learn about the installation of OpenCV on macOS using the Homebrew. The advantage of using the Homebrew is that it simplifies the installation process. It requires a few commands to install. The installation steps are the following: Step-1: Install the Xcode command line Tools To install the Xcode type the following command in terminal. To verify that it installed successfully, type the following command. If it shows /Application/Xcode.app/Content/Developer then we can proceed further. Step-2: Install Homebrew To install Homebrew, type the following command in terminal. A shell script .bashrc is located in your home directory that Bash runs whenever it is started interactively. We can locate the home directory using the following command. It should display output like Step-3: Install Python 3 To start with OpenCV, it is necessary to install Python. To install Python 3 using Homebrew, type the following command: To check the python version by running the following command: It will display the version of downloaded Python. Step - 4 Install OpenCV To install the OpenCV3 type the following command: Setup a Python 3 Virtual EnvironmentThe virtualenv and virtualenvwrapper packages provide the facility to set the virtual environments. It is important to set the virtual environment to work with multiple projects without introducing conflict in their dependencies. To install virtualenv and virtualenvwrapper we use pip (Python Package Manager): We also need to update ~/.bashrc: Now we can create a Python 3 virtual environment: We can access the OpenCV by using the following command. The above command activates the OpenCV in the system. Next TopicRead & Save Images |