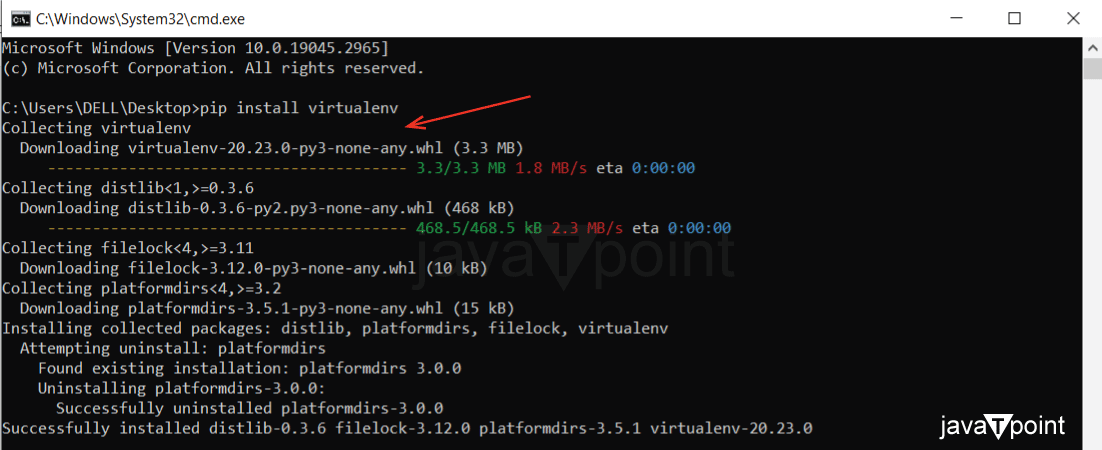
How to Create a Virtual Environment in Python?IntroductionWhat is a virtual environment?A virtual environment is an isolated Python environment that allows you to install and manage packages independently of the system-wide Python installation. Python applications will often use the packages and additional modules that don't come as a part of a standard library. Sometimes applications may require a specific version of the library to perform a specific task or fix a bug. A virtual environment ensures that your project dependencies are isolated and avoids dependencies-conflicts between different projects. In this article, we'll explore how to create a virtual environment in Python: Step 1 - Install virtualenv:The first step is to install the virtualenv package. The virtualenv package provides the necessary tools needed to create and manage a virtual environment. It is a third-party package that needs to be installed.
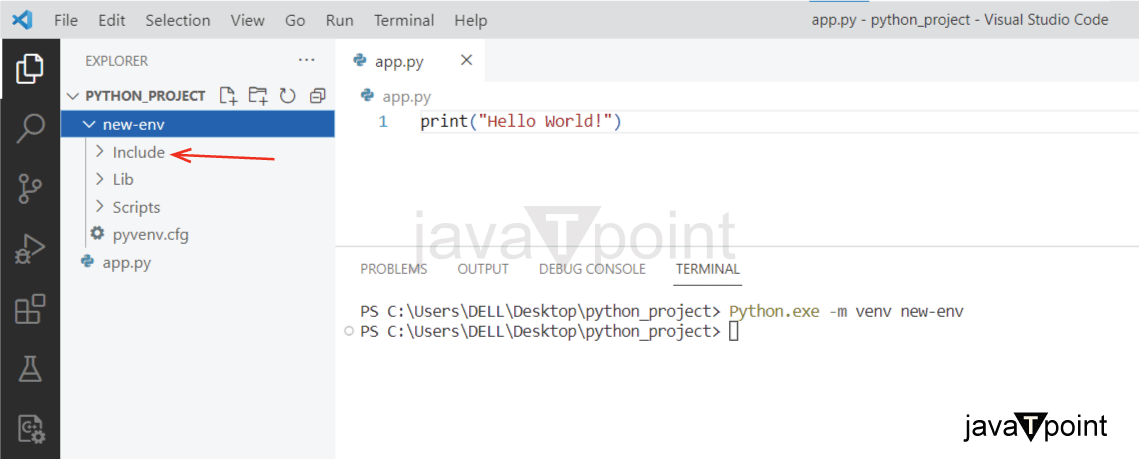
 We can also use an in-built 'venv' module in Python to create a virtual environment. Step 2 - Creating a Virtual Environment:1. Using venv: The module venv is used to create and manage a virtual environment. It is available with the most recent version of Python. We can decide the location to create a virtual environment and run the venv module as a script with the directory path. Type the following command in your command line and hit the enter button.  The above command will create the new-env directory; it also creates the directory inside the newly created virtual environment new-env, containing a new copy of a Python interpreter. B. Using virtualenv: Once virtualenv is installed, you can create a virtual environment by running the following command:  This command also creates a new directory called new-env, which will contain the isolated Python environment. Step 3 - Activate the virtual environmentAll virtual environments are stored in the common directory location venv folder. Once we create the virtual environment, we must activate it by typing the following command. The command to activate the virtual environment depends on your operating system.

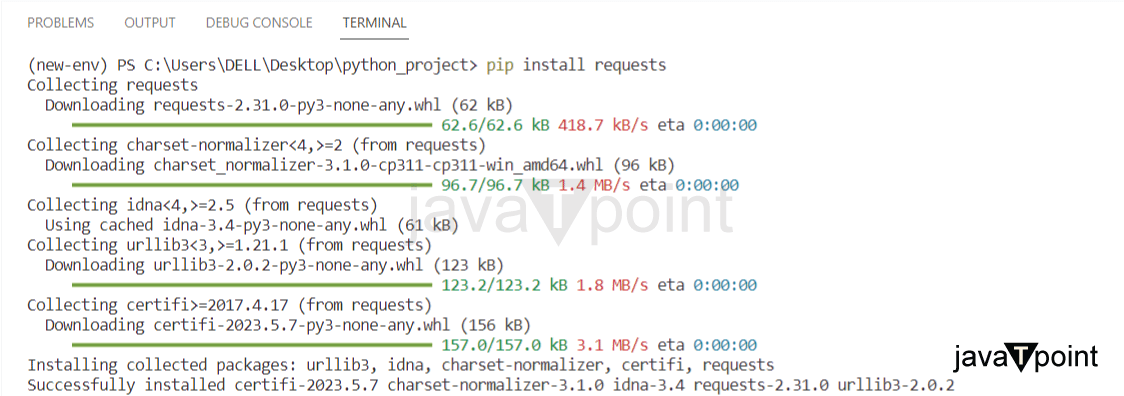
source new-env/bin/activate After activating the virtual environment, it will change the shell prompts to tell what virtual environment we are using. While activating the virtual environment in your window system, you may encounter some problems: one such problem includes "running scripts is disabled on this system". How to fix it:Step 1 - Run Powershell as administrator Step 2 - Execute the following command: Step 3 - Enter 'Y'  Now, you are good to go. Step 4 - Managing Packages Using pipWith the virtual environment activated, installing packages will not affect the global Python installation or other projects. We can install, upgrade, and delete the libraries in the activated virtual environment using the Python package manager called pip. For example, to install the popular requests module, you can run the following command:  If we re-run the previous command again, it will display that the required version is already installed. The importance of creating a virtual environmentSuppose we are developing two applications that require an older library version, and other applications require a new version of libraries in the same Python installation. Sometimes, it leads to a problem. In other words, one Python installation may not meet every application's requirement. The requirement of the various applications may create conflict with each other. For example, - If application A requires version 1.0 and another application requires version 2.0, then they will create conflict, resulting in one application being unable to run. To resolve this conflict, Python offers to create a virtual environment. Application A has its environment with version 1.0. Application B has its environment with version 2.0, so if we want to upgrade application B to version 3.0, this will not affect application A's environment. Difference Between virtualenv and venv:Both 'virtualenv' and 'venv' are used to create virtual environments in Python. Here are some differences between them:
Note: - If you are using Python 3.x, venv is the recommended choice for creating virtual environments. - If you are working with Python 2.x or want more advanced features, virtualenv is a suitable option. CONCLUSION:Creating a virtual environment becomes important when working with applications having different version requirements. In this article, we explored different methods to create a virtual environment in Python. The process of creating a virtual environment includes installing virtualenv (a third-party library) or using venv (an in-built Python module). Followed by activating the newly created virtual environment. Once the virtual environment is activated, packages and modules can be installed using the package manager 'pip' within the virtual environment. By following the steps outlined in this article, programmers can easily create a virtual environment and enjoy cleaner project setups. Next TopicHow to declare a variable in Python |

We provides tutorials and interview questions of all technology like java tutorial, android, java frameworks
G-13, 2nd Floor, Sec-3, Noida, UP, 201301, India


