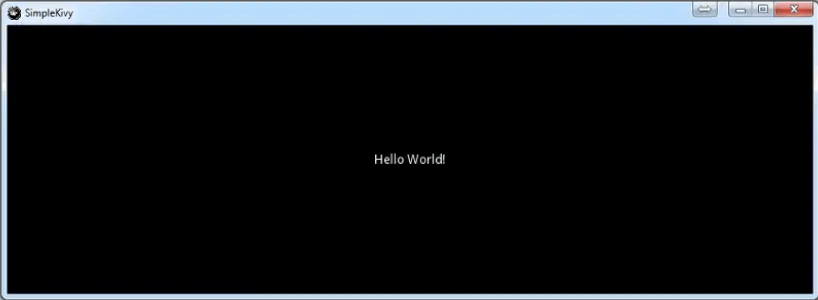
Build Cross - Platform GUI Apps with Kivy1. Installation of KivyWe'll need PyGame to use Kivy. One of the first Python game development packages was PyGame. NB: I used Windows OS with Python. Check the Kivy online documentation for Mac OS. Using "pip," we'll install PyGame first, followed by Kivy. If you have any build of Python 2 or Python 3 installed, you already have pip. The command to install Python libraries is a pip. To install, open a command prompt and type the following commands: 2. First Kivy ProgramOnce Kivy has been successfully installed, you are prepared to launch your first simple program. Open the IDE you installed on your PC, such as IDLE, Sublime, Atom, VS Code, or another program. Please open a new file and give it the (.py) extension, like SimpleKivy.py Enter the text by typing: The statements above import the Kivy App, notifying the console that Kivy is being used. Then a requirement for a Kivy version follows. Although it is not required, doing this is crucial if you plan to use Kivy's updated features. From Kivy's UIX packages, we take the "Label" package. Numerous additional items can be extracted from the package. For instance, to develop our main application, "SimpleKivy," we derive from Kivy's App class (defined in the first line above). We are only returning a straightforward Label that reads "Hello World!" Afterward, state the following in your conclusion: The statements determine whether the script is executing as the "primary" script or only referencing another. It calls the run() method as in "SimpleKivy" ().run()") if the script in question is the main running script. When you launch the application, you ought to see something similar to this:  3. Kivy WidgetsA widget is a collection of several pieces assembled to form an application. A login page on the home page, for instance. We may include words like "username" and "password" on our home page. Then, some text fields for input are required. To do this using Kivy, we'll use Label to hold the text and a text input widget to allow the user to enter text. Importing the required utilities as usual: Please take note of the Grid Layout that we imported. There are numerous different layouts in Kivy, including this one. Our app is grid-aligned thanks to the use of a Grid Layout. We imported TextInput as well. As a result, we can use a text input field in our program. Keyword arguments are known as (**kwargs) "self. Cols = 2" denotes that it spans two columns (remember that we are using Grid Layout). The class LoginScreen will derive from GridLayout. Both super and multi-inheritance are used to avoid referring to the base class. Self. Add widget(Label(text="Username:")) adds the label "Username" in the instructions. The widget is added in the third line, and the text field for saving it as a username is added in the second line. The lines above can be used similarly to construct the Password label and input. Note that the second line above has the phrase "password =True." For security reasons, this argument will change the text input to asterisks, masking the password. We now complete with this well-known code: The addition of "return LoginScreen()," which returns the class we created above, is the sole difference in this case. log in screen class(). not to mention our run() method. If everything went according to plan and our app was released, we should see something like this:  That's it, then. You can include various elements in your application interface, including buttons, checkboxes, and radio buttons. These contribute to a considerably more functional and user-friendly user interface. Kivy enables you to customize UI elements and backdrop images to meet your unique needs. 4. Making the Application Package Finally, you may utilize the python-for-android project to produce the app package (apk), referred to as "apk" on Android. This page explains how to download and use it straight on your computer. |

We provides tutorials and interview questions of all technology like java tutorial, android, java frameworks
G-13, 2nd Floor, Sec-3, Noida, UP, 201301, India


